HOW TO CREATE A YOUTUBE CHANNEL ON A BUDGET
At no additional cost to you, as an affiliate of Amazon and other organizations, I may earn money or products from the companies mentioned in this post. When you use my links, you also support this single mom. Thanks! Read the privacy policy and disclosure here.
DON’T BREAK THE BANK TO START ON YOUTUBE!
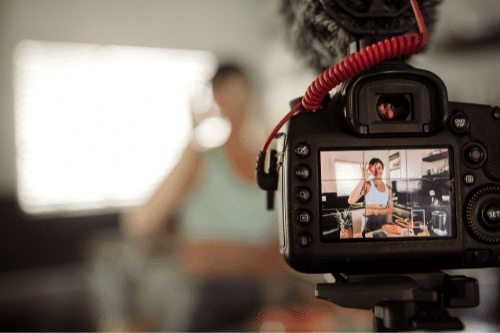
Many people think that in order to create a Youtube channel, you have to spend a lot of money. Wrong! Fact is, many YouTubers begin with the basics, then later upgrade their equipment.
One of the worst things you can do is start with expensive equipment, then realize YouTube isn’t your cup of tea.
When I started my Deal Finding Diva YouTube channel, I had did not have the money to throw into expensive cameras or microphones. I began with the basics, and the more my channel grew, the more I put into it.
At the very least, you want to get monetized first (earn money from YouTube ads), then use that money to start building up your equipment.
And, in case you didn’t know, you must have 1,000 subscribers, and 4,000 watch hours on YouTube in order to become monetized. It’s not done overnight, so you’ll have plenty of time.
Plus, any serious YouTuber will tell you, your early videos will make you cringe years later anyway. So, focus on getting comfortable on camera, video editing (if you’re doing it yourself), and getting a feel for the YouTube world, before you break your pockets buying new equipment.
You need equipment that is affordable but still has good quality. I’ll give you my tips on how you can save money, and find great equipment. Let’s get into it!
1. CAMERA
In order to film, you need recording equipment. That’s obvious. But you don’t need to start out with one of those expensive DSLR Cameras.
I bet that you already have filming equipment. It’s called…a cell phone. These days, cell phones have HD recording capabilities, so you can record nice, clear videos, without breaking your pockets.
Other filming options include recording on your laptop, tablet, or desktop computer. If you have a camera, save your money and use it.
When I first started, I used my MacBook Pro and my iPhone as recording devices. Once I realized I wanted to get serious and stick with being a creator, I upgraded to a Canon EOS Rebel SL2 DSLR Camera, and most recently to a Canon G7X Mark III. Once you get established and decide that you’re ready to move up to a more quality camera, the Canon SL2 is a great beginner camera. Until then, use what you already have.
2. LIGHTING
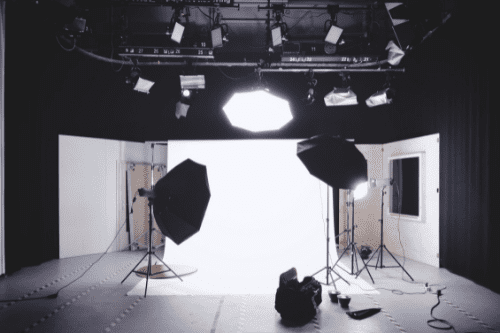
When you start a Youtube Channel, it is very important to have good lighting. No one wants to see a video where the screen is full of shadows. In order to spend no money on lighting, I suggest using natural light. Open those curtains, and use that light.
TIP: Be sure that you are facing the light source, and don’t have your back to the light or you will look like a shadow. Let the light hit your beautiful face, and get filming!
If using your cell phone on the go, I suggest this Cell Phone Ring Light.
If you want more professional-level lighting, I suggest using a lighting kit. I started out using the ESDDI Softbox Photography Lighting Kit for my videos. It’s under $60 and long-lasting. It comes with a carrying case for portability. It’s a great kit to start with.
But once I grew my channel, I wanted more lighting options. I upgraded and currently use the Neewer 18-inch ring light. This is the #1 best-selling ring light on Amazon, and it’s for a good reason. It has a tripod, a carrying case, and great color and brightness options. To find the best prices on ring lights, be sure to check out the deals page. I often find ring lights insanely cheap with promo codes or other discounts. You can also find the one I have here:
3. SOUND
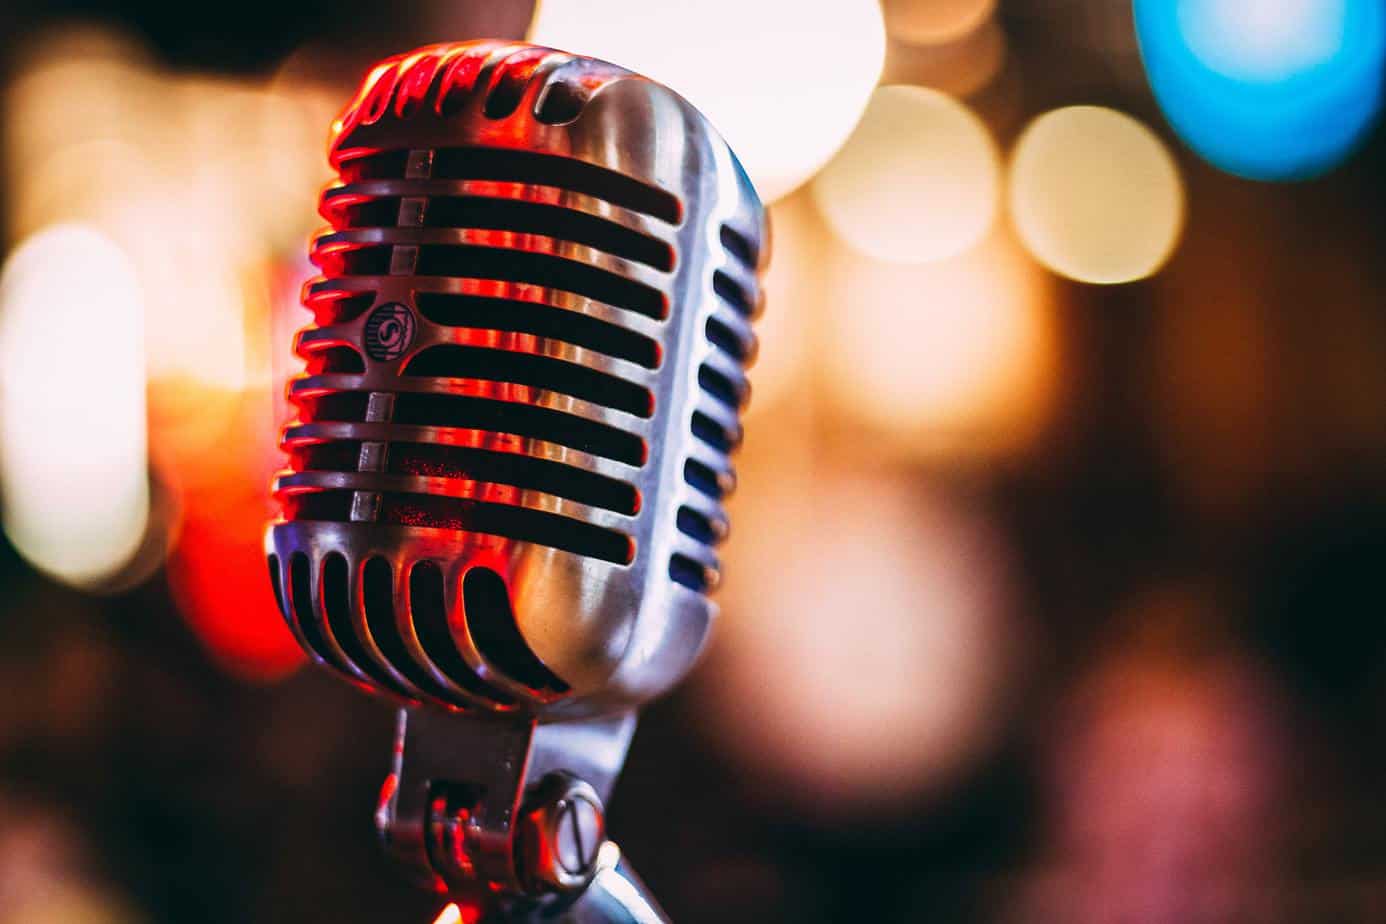
The sound of your videos is important, but not as important as you might think. My microphone was one of the last upgrades for my channel. As long as you’re not recording in a place with a loud echo, which would be distracting, the content of your video is most important.
Think about the last YouTube video you watched. Were you more interested in the sound, or what was going on in the video? Many creators don’t even use a special microphone other than the one inside their filming device.
With that said, the more you grow, the better you will want your sound to be. If you are recording on your cell phone, I suggest using the Pop Voice Lapel Microphone. It clips onto your clothes, and gives you clearer sound, especially when you’re outdoors and need to drown out background noise. It comes with a regular auxiliary cord connection. If you’re using an iPhone, you’ll need a headphone jack adapter.
I have upgraded my microphone several times since my cell phone recording days. My first upgrade was the Takstar Microphone for my Canon DSLR Camera. It’s under $30, and it works great.
Now that my channel has grown to thousands of subscribers, I most recently upgraded my microphone to the Pixel Lavalier Microphone for vlogging, and the Shure VP83 with Pyle stand for sit-down videos. It was a bit of a splurge, but the sound is incredible!
I did save pretty good on this mic, though. There was a $20 coupon that I was able to apply. Plus, when I received it, I saw that the seller added a card that allowed me to get a $30 rebate just by sending an email! So, while the mic was listed at $130, I actually spent $80!
4. TRIPODS/SELFIE STICKS
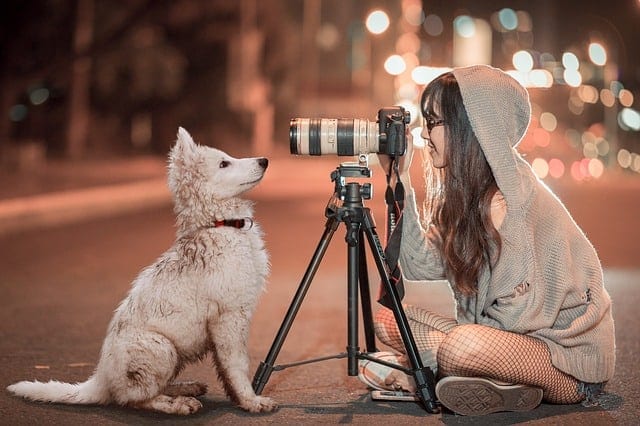
Tripods are quite important. Yes, you can stand your camera up on a pillow or shelf, but I’ve always had an issue with it falling when I did that. Cell phones and cameras are expensive. You don’t want to risk breaking your equipment because you don’t have a tripod.
Also, if you plan to vlog (many Youtube Creators do at some point), you will want to hold your camera at a good distance, and an arm’s length may not be enough. I upgraded my tripod to a 61″ tripod/selfie stick that includes a bluetooth remote. That way, I can press the record button without having to lean into the camera, and I can comfortably record my vlogs.
Plus, it helps that I get a lot of free Amazon gift cards.
I eventually bought the Neewer Mini Ball Head attachment that allows me to attach my camera to my Neewer ring light. It was only $14. But, some ring lights already come with them. It’s much cheaper than buying a tripod, and it’s sturdy. But again, if you are planning to vlog, you’ll also want the other tripod/selfie stick.
5. EDITING
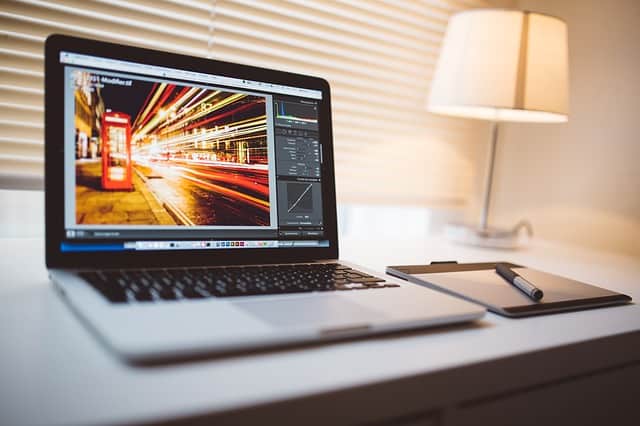
When you create a YouTube channel, editing is quite important. For editing software, I first got Final Cut Pro X to use on my MacBook Pro. It’s a $300 program. I didn’t pay that! I found one on Ebay, from a seller, that was legally able to sell it and bought it for under $20. Apple won’t want you to know that. As a matter of fact, the haters gave me a copyright strike on YouTube for telling people about it. But who cares? I’m here to save money. Shhh!
The downside of getting software that way, is that you can’t get the updates when they come out. So, once my channel grew, I bit the bullet and got Final Cut Pro X through Apple. But I used my Ebay version for 4 YEARS, before I upgraded.
Another option: InVideo. This drag and drop software allows you to create videos quickly and easily. They have a variety of cool templates to make your videos more exciting. I wish I knew about this when I first started YouTube. It would have saved me so much time!
You can try InVideo with a free trial. And it’s only $15/month if you decide to keep it. I highly suggest it.
If you don’t want to put out any money, more likely than not, your laptop or desktop computer came with video editing software. Use the best option for you.
6. CREATE A YOUTUBE CHANNEL!
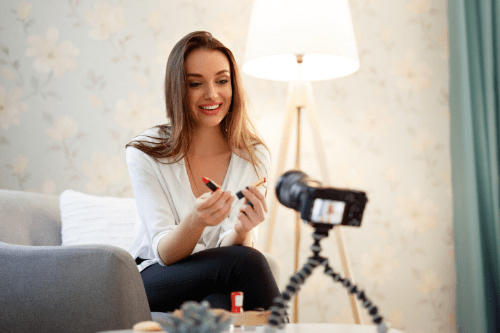
Now that you’re armed with the information on how to create a YouTube channel on a budget, go for it. Don’t let anyone or anything hold you back. Remember, if your goal is to make money on YouTube, the only way to get it is to get started.
You may come to find that this can be a lucrative hobby or even a career. For more in-depth information on this topic, check out my YouTube video below. And don’t forget to subscribe!
If you plan to make money on YouTube, check out these tips!
*FOR EVEN MORE EQUIPMENT IDEAS, CHECK OUT MY AMAZON PAGE*
[embedyt] https://www.youtube.com/watch?v=59CCICd6HFg[/embedyt]
